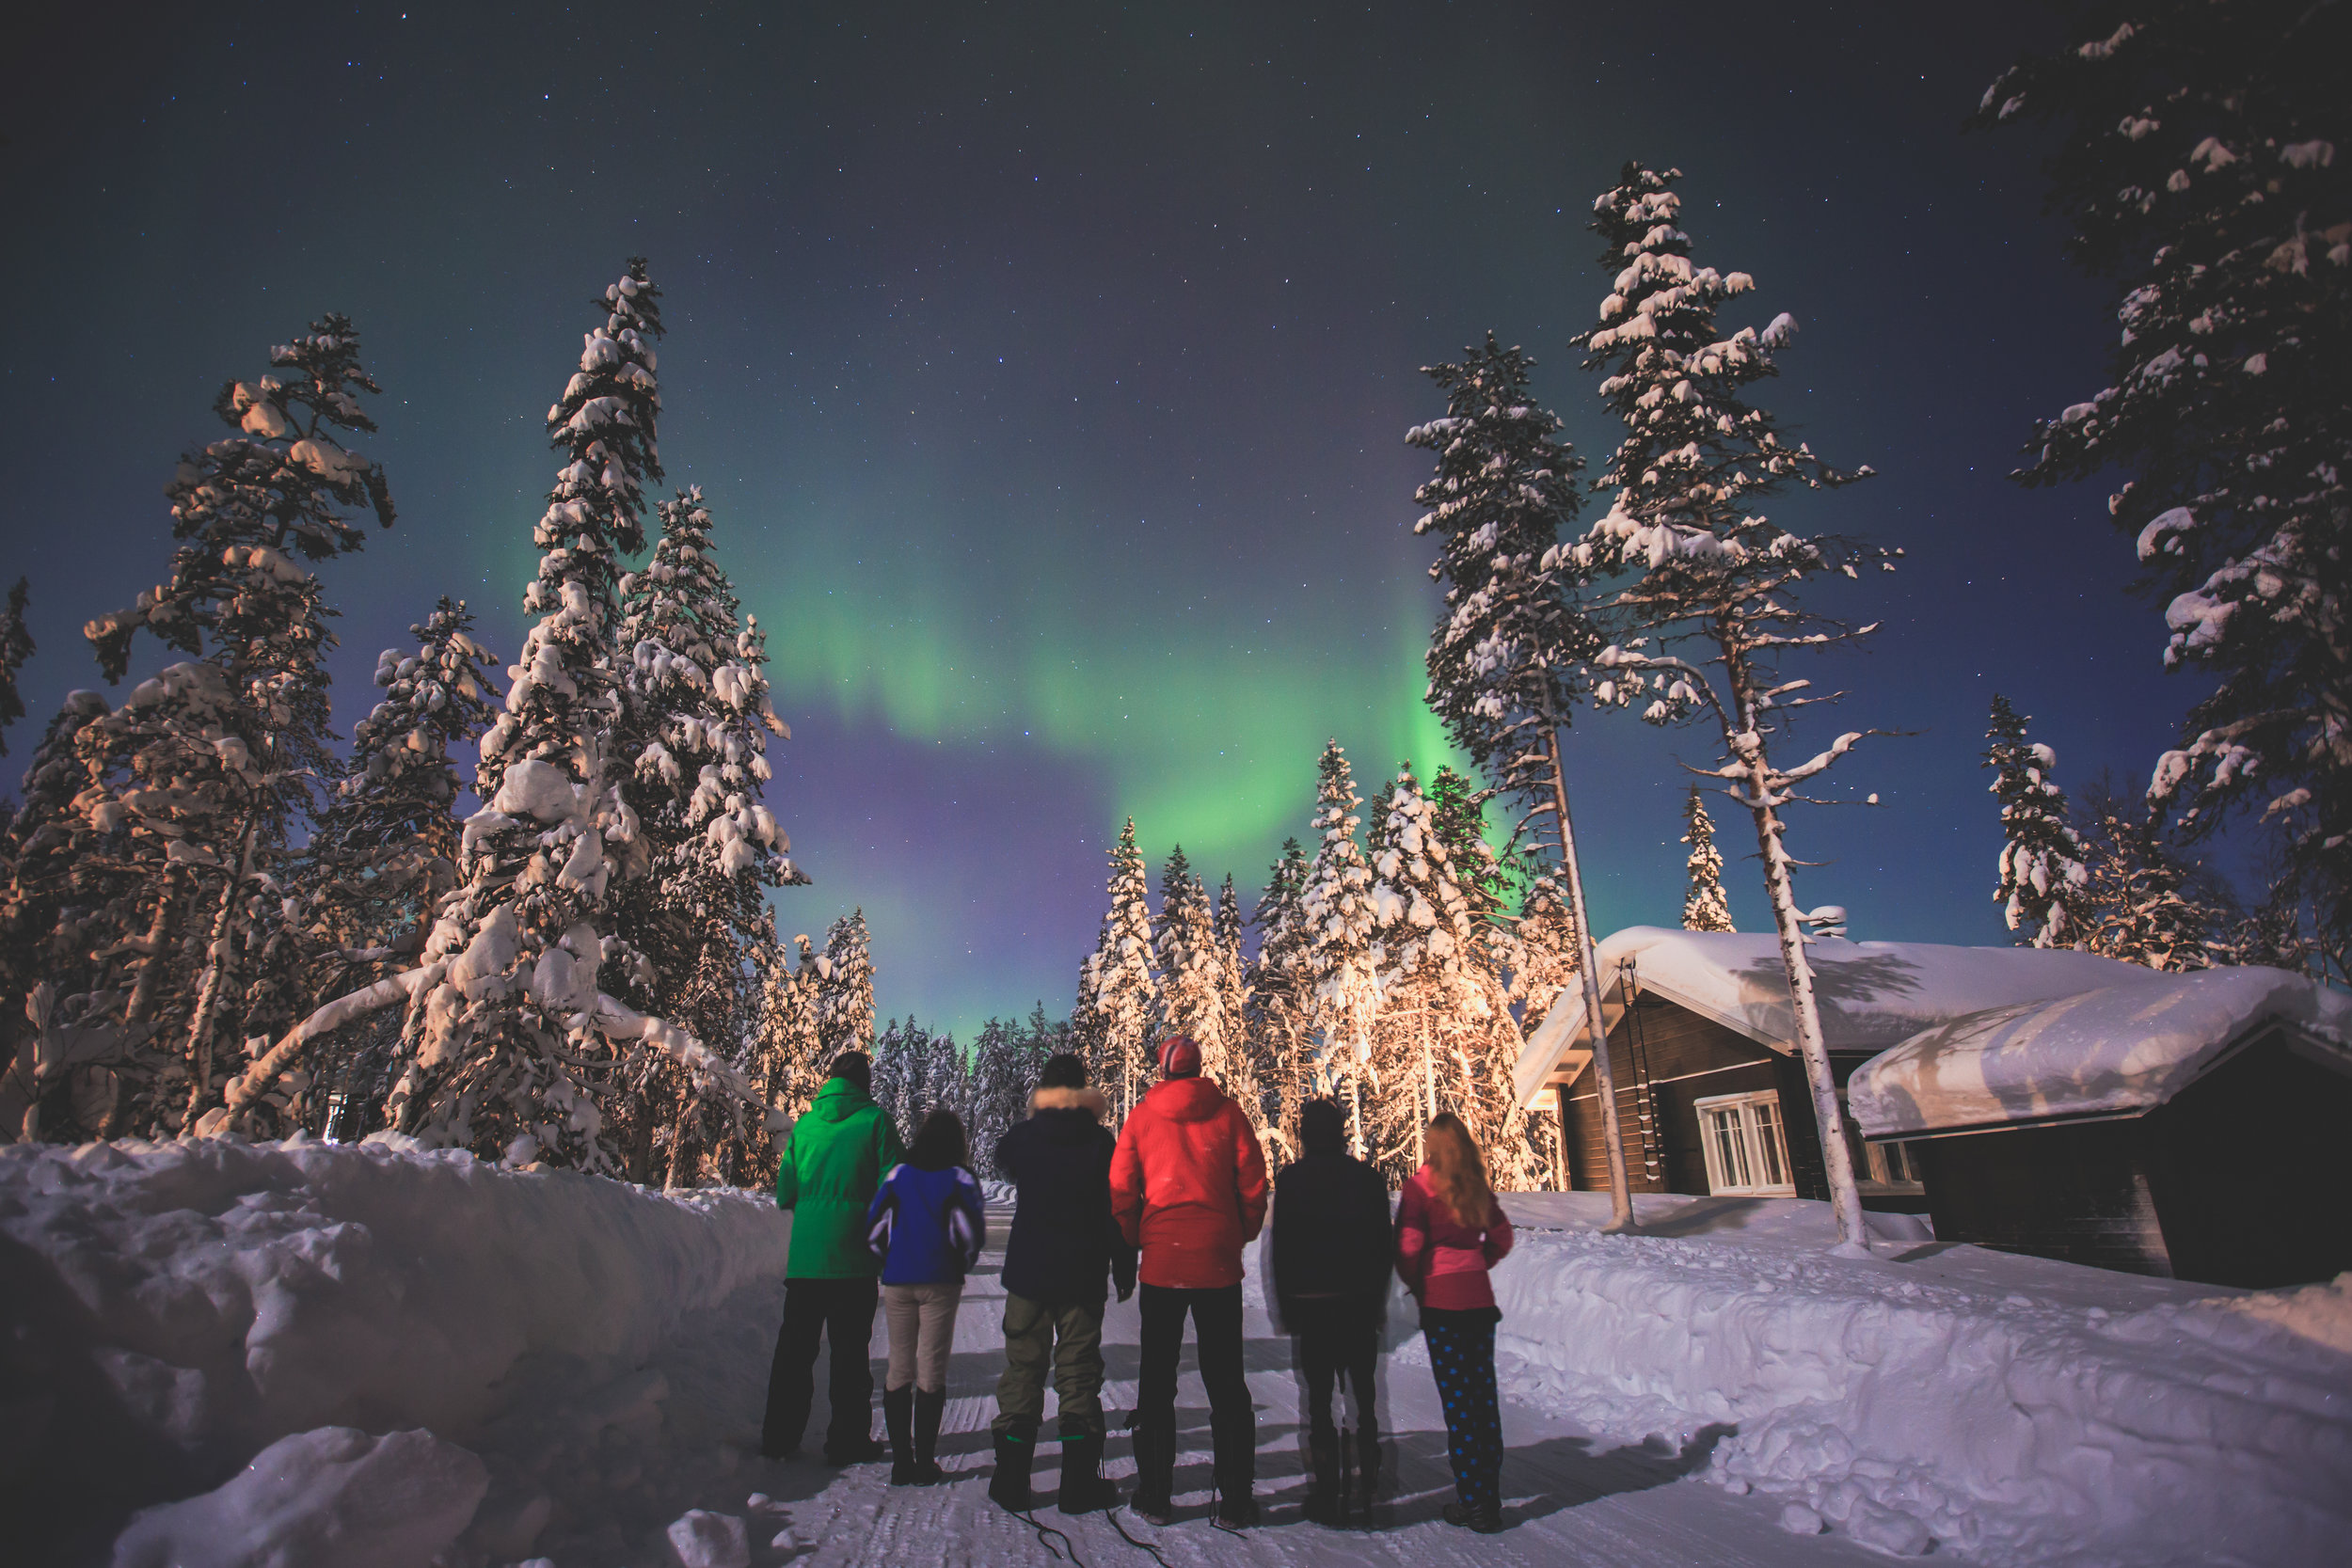
This is the ultimate 7 step settings guide to Northern Lights photography.
Following these steps, most modern cameras will produce beautiful digital photos for on-screen purposes.
You can use any camera with an option for Manual settings, preferably with a wide angle lens. Are you ready? Let’s begin…
Step 1: Set to Manual
Set your camera to Manual and also set your lens to Manual.
Turn off Image Stabilization (typically the button next to manual on your lens).
Turn your Flash setting to off.
Why must I use the Manual settings? Automatic setting is useless in the dark, it will continuously zoom in and out in a failed attempt to find focus in the dark.
Step 2: ISO setting
ISO 1600 is a good start
What does the ISO setting do? This is what controls the light sensitivity. The higher the ISO, the less light you need to capture the northern lights. But beware; with higher ISO comes lower quality.
Step 3: Aperture = f-stop
f-2.8 or the lowest f-number you can get
What does the aperture do? The aperture, or f-stop (f-2.8, f-4, f-5,6 etc) on your camera tells you how widely your lens is open = the size of the opening letting light through the lens. This you can adjust by setting the f-stop. Confusingly, the lower the f-number, the bigger the opening. For Northern Lights photography we want the biggest opening (the lowest f-number) possible on our camera. Because the more light your lens can take in the lower shutter speed you can use, the quicker you can capture your shot, the more detail you can get in your Northern Lights image (because the lights are constantly moving).
Step 4: Shutter speed
20 sec. is a good start
What does the shutter speed do? Shutter speed = exposure time = the time your lens is open and absorbing light. You will need to adjust the shutter speed as the strength of the Northern Lights changes through an evening. For example: Soft lights = 15-30 sec. shutter speed. Strong lights = 1-6 sec. shutter speed.
Step 5: Use a Tripod
Mount your camera on a tripod
Why do I need a tripod? Holding your breath and keeping very very still is not gonna cut it. You may be taking your photo for 30 seconds. When you move your photo will be blurry. So use a tripod.
Step 6: Zoom & Focus
Zoom out (lowest mm setting on your lens)
Here are some focus-finding options:
Set to the infinity symbol, if you have one: ∞
Pre-set your focus during the day
Zoom in on a star or the Moon, set the focus and zoom back out
“But my camera has auto-focus.” Not in the dark. Get to know your manual focus options. And always zoom out completely, the Northern Lights occupy a large space in the sky, and we want to capture as much of it as we can.
Step 7: Remotely release the shutter
Use a remote control, or a 2 sec. self-timer, or a phone app.
Why can’t I just push the shutter button? If you push the shutter-release button you will shake your camera, causing a possible blur in your photo. Remote control is best. 2 sec. self-timer is also good. Some cameras can use apps.
Finally, Time to get out
Try out all these settings before going out in the dark. Get to know your camera. Once you are out, set everything up and do some test shots. Adjust the settings as needed. If your image is too bright, lower your shutter speed or ISO. If your image is too dark, up your shutter speed or ISO. It’s as simple as that!
Bring a head lamp, it will come handy when adjusting your camera settings, but also very useful for lighting up some object in the foreground. For example it could be nice to light up a person or something else in the image.
Avoid condensation. When you are done photographing, place your camera in an airtight bag before taking it inside. Otherwise you risk condensation in the camera. Let the camera warm up inside the bag before taking in out in room temperature.
Want a picture of yourself under the Aurora? It’s actually quite easy! You will need a friend and a flashlight. Use all the same settings as above and then the aim is to freeze the subject.
You stay as still as humanly possible during the whole exposure time.
At anytime during the exposure time your friend flashes you with a quick light.Replacement batteries? Normally not needed for a 3-4 hours night out Northern Lights outing. But, if your camera is highly technical or if you will be using an app, you may be needing 1-2 extra batteries.


